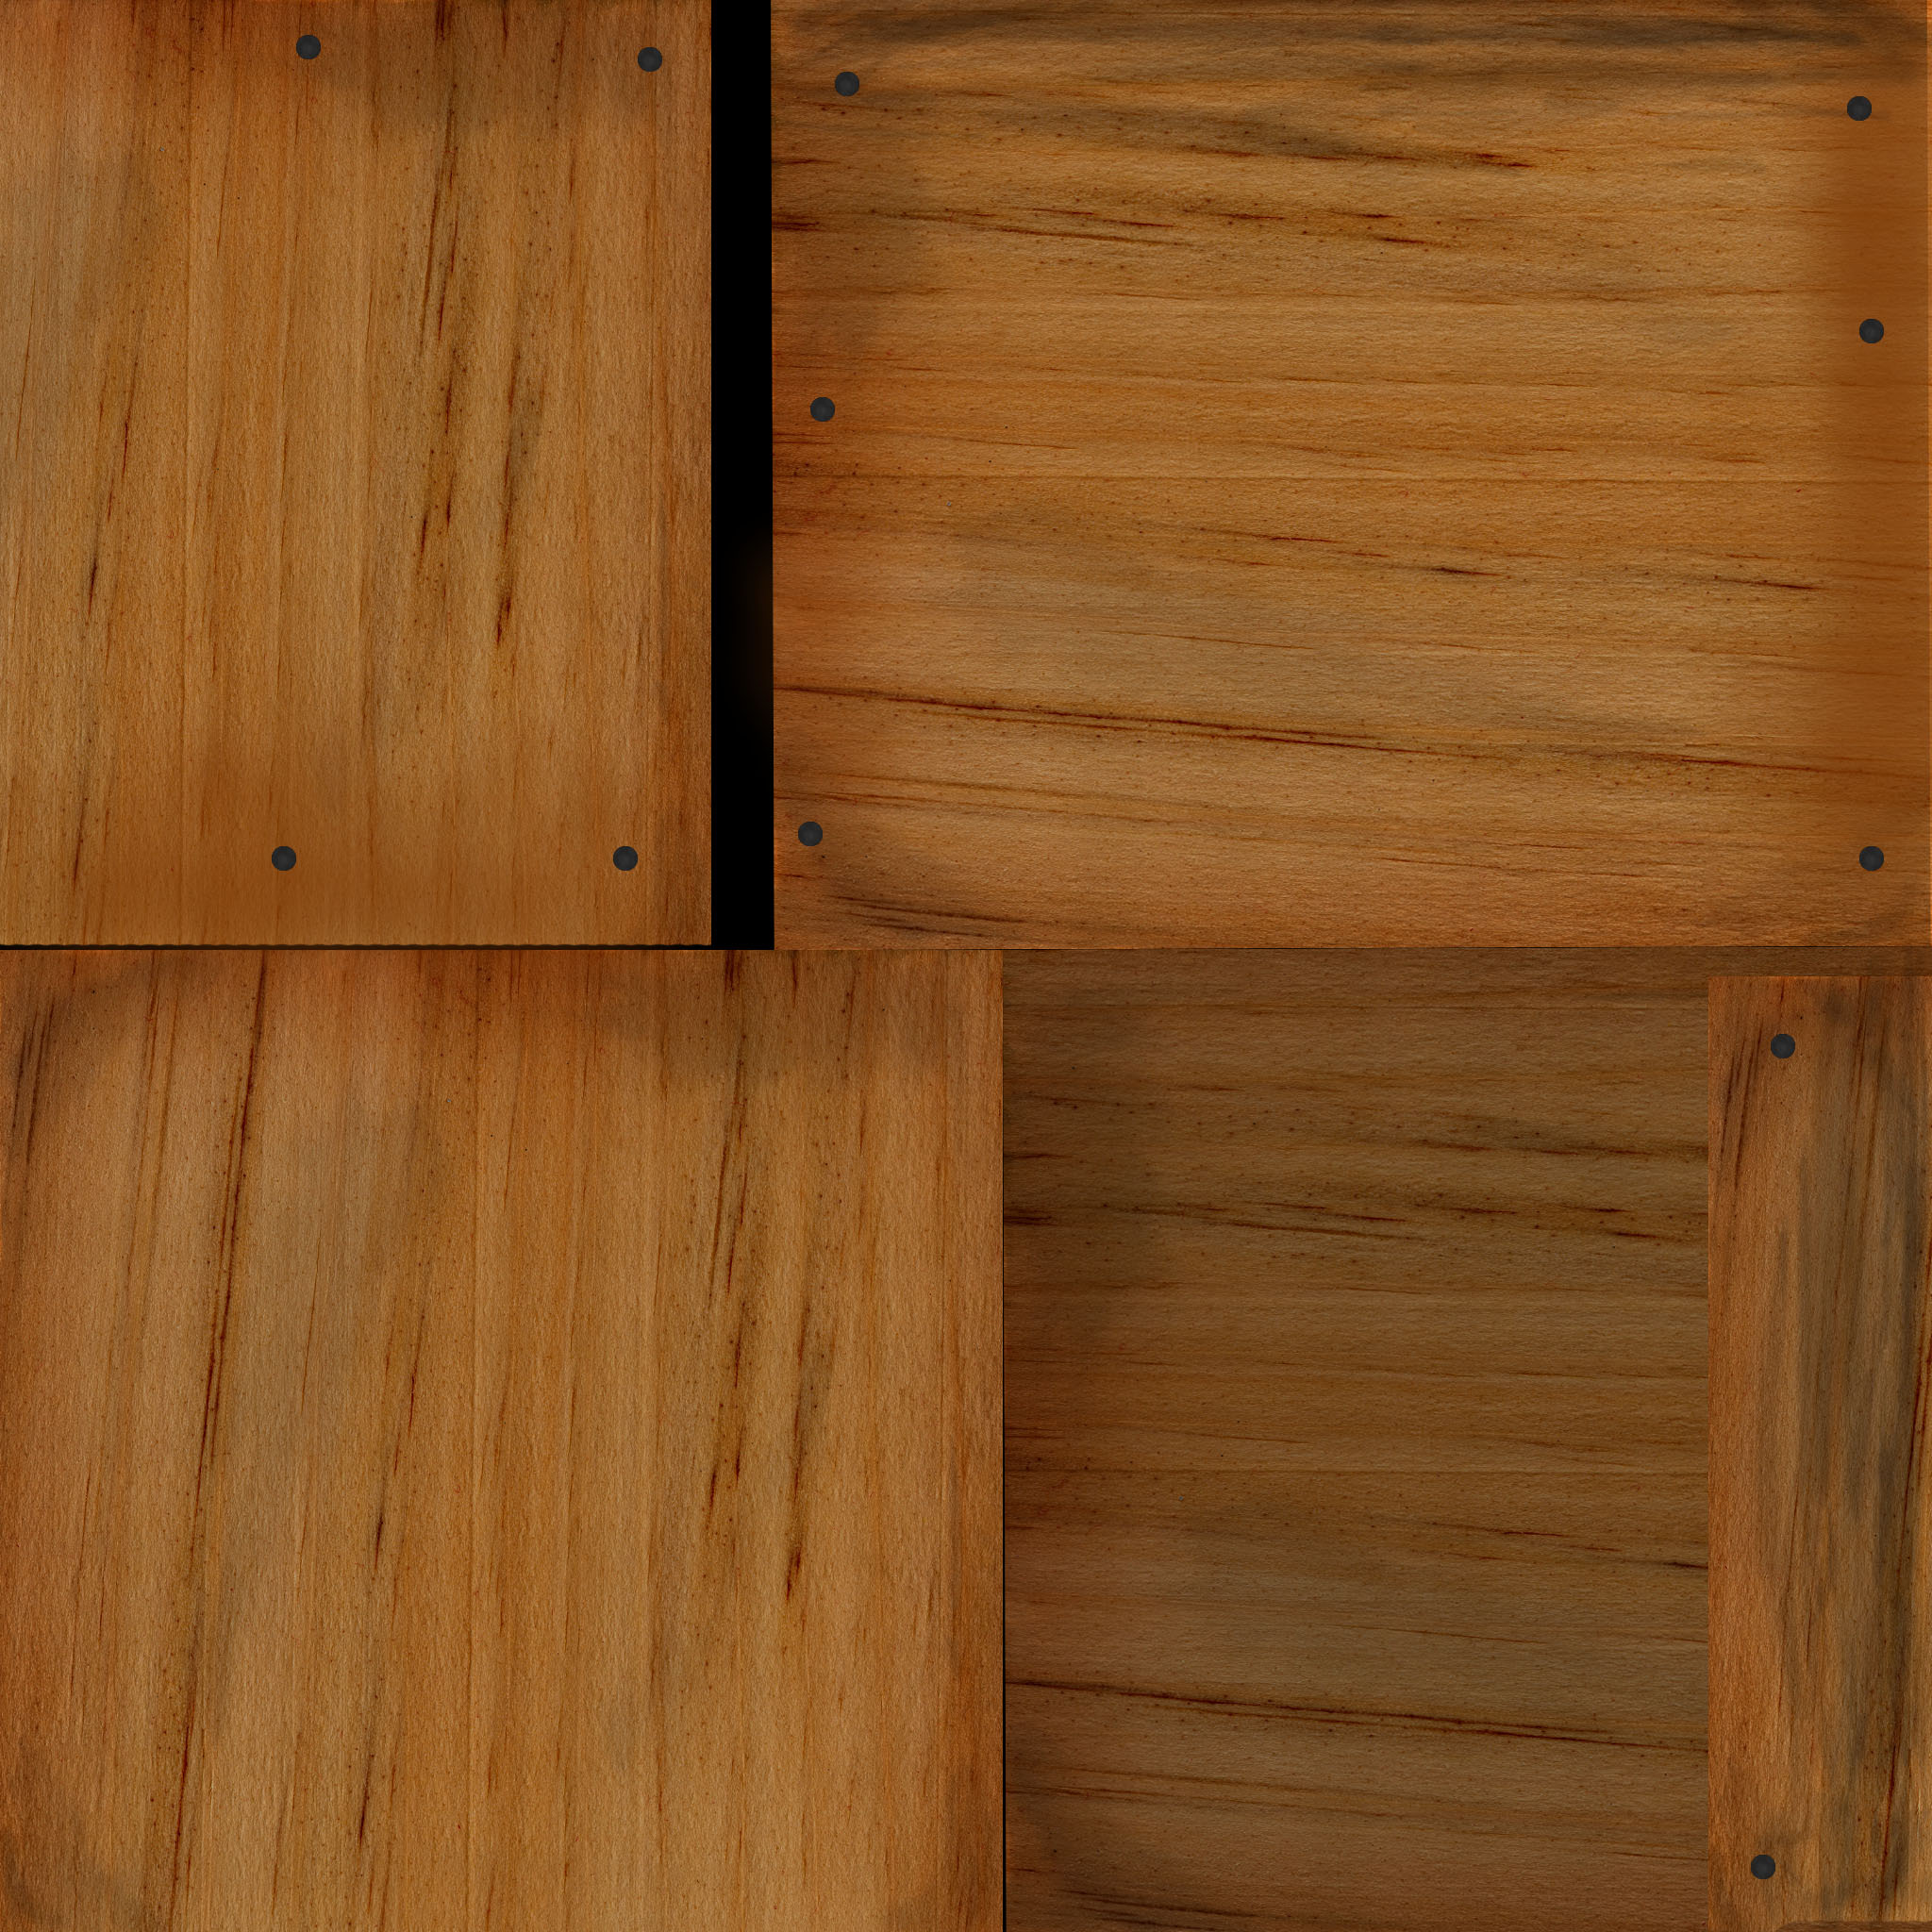
So the diffuse map is the basic texture with all the color needed to make this “basket” wear the right colors. This is the first step and most basic texturing you need to do and will determine the outcome of the later maps. When you create a low poly count model you will still need to have some depth in your model, with the help of a normal map you can achieve that and it gives the illusion that it has a real texture. I used it to bring out the markings on the wooden plank as well as the nails keeping the wood together. The illusion of this makes the nails look like they are popping out of the crate when it actually is a flat surface if seen from the side. In a real game you do not use a high poly model, you reduce the amount of polys and add a normal map to achieve the final “illusion” result. The specular map help me to lower the shininess of the basket, as I do not want the planks to shine I drew these planks darker, and I added light to the nails so that they would get the shininess I was aiming for
The thing I realized and later on in the mapping became a problem was that I could not predict the outcome of the different maps (as I did not attend the lecture). So I had to try it out for myself. As I wrote before; the different maps has of course different “rules” and I started with only the diffuse map laying out the wooden texture, after I completed all three maps I realized another thing.. what holds a basket together? Nails…
I did not think it would matter at first, but it looked so fake that I could not live with it, so I did some editing in Photoshop, iterated a few times until I got it almost right. And then I was a bit satisfied with the result (for now).
As this was a pretty “simple” kind of crate, I did not need to think a lot of how and what had to be modeled and what to texture, our teacher showed us many times what should be modeled and not. So instead of actually modeling nails into the crate I just needed to texture the model with normal maps. So depth or stuff that needs to pop out does not always need to be modeled, the minor details done with texturing will become a good replacement for the loss of polys.
For my crate I wanted to skip the specular map as I heard that it makes stuff shiny, and I had wooden planks… I did not want them to shine, but actually it works the other way around too, if you darken the areas you do not want to shine, you will get a more matte material. But I also made use of the specular map for the nails I added to the basket.

So this crate was the final result, I rendered it in 3Ds Max at first but I was advised that i should import it to UDK instead to see how it would be presented in a game environment. I am pretty proud of this crate and i can see how much normal mapping does to an object, most of the “basket” is textured but it feels like I have modeled every little bump in it. one can achieve much through texturing only.

The next assignment will be a tough one, we shall model and texture a knife. wish me luck!
